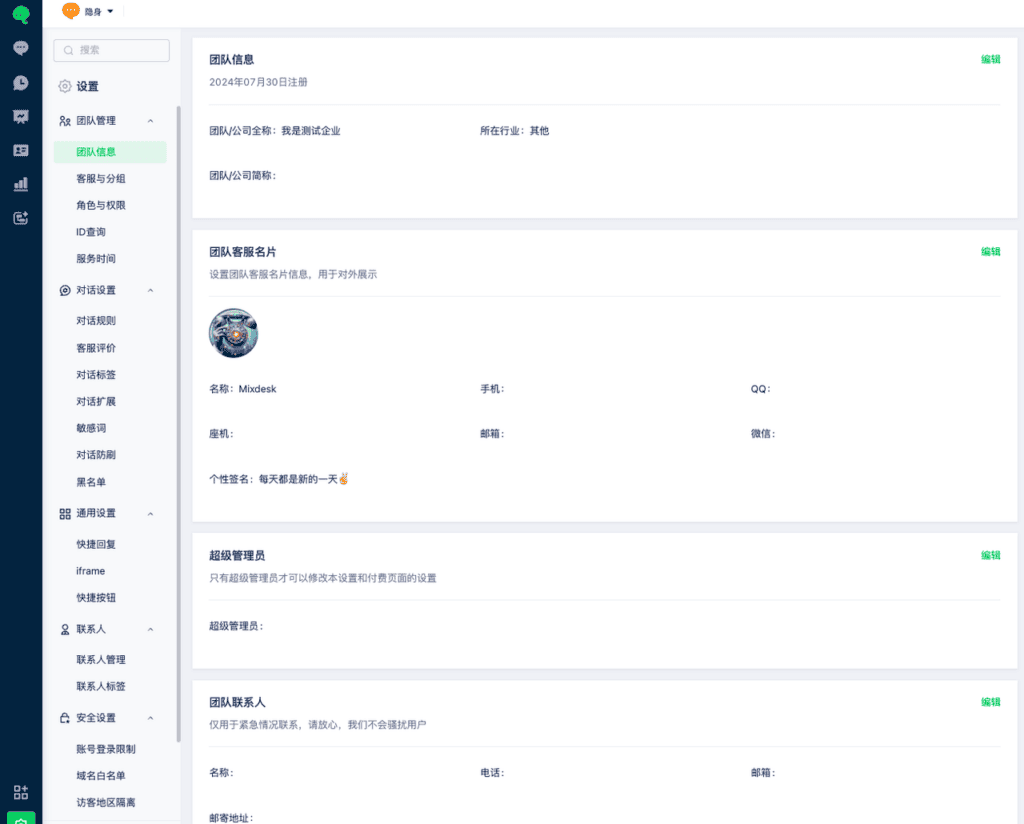
Overview
In Mixdesk, go to Settings > Team Management to manage groups, team-member accounts, roles, and permissions.
1. Add groups
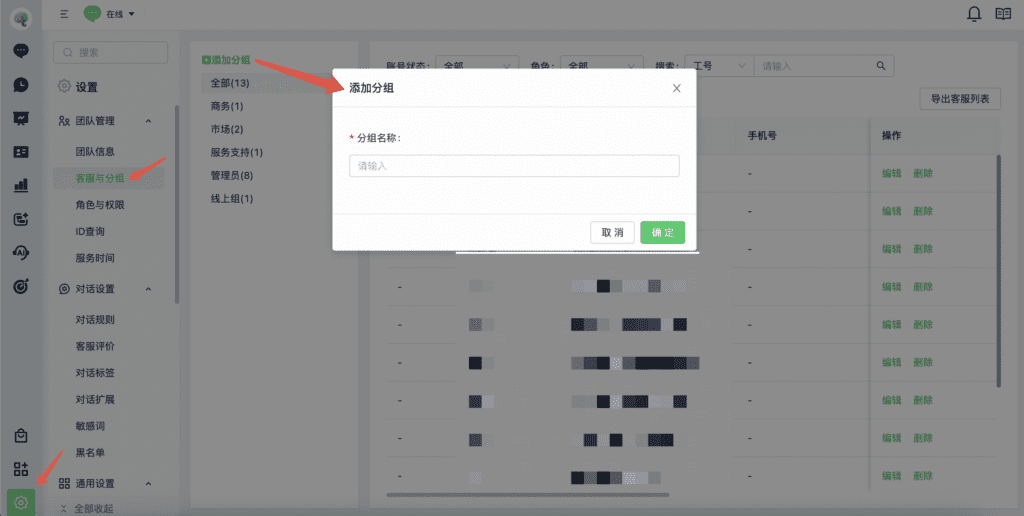
Create groups to organize your support team and configure conversation assignment, such as Support Group 1, 2, and 3.
Go to Settings > Team Members and Groups, then select Add Group, enter the group name, and select Confirm.
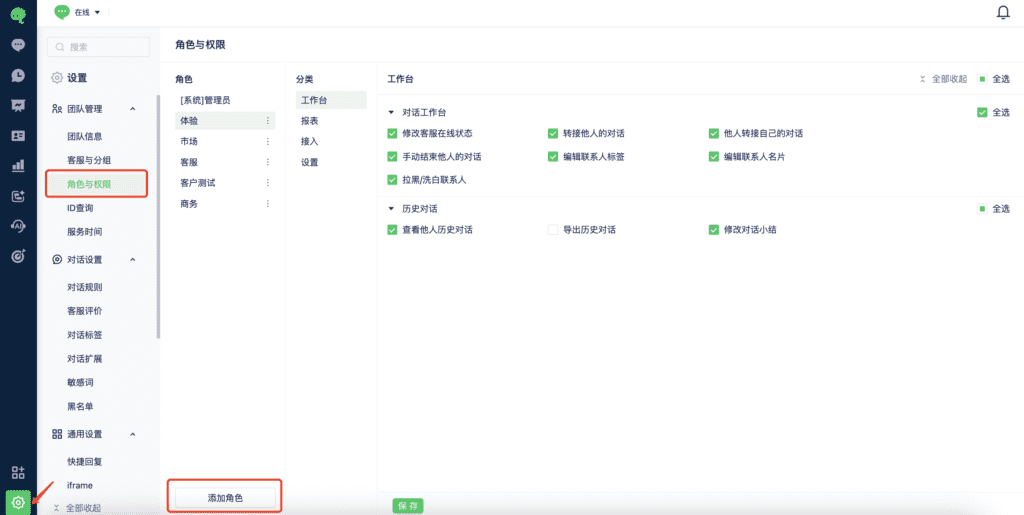
2. Configure account permissions
Open Roles & Permissions to configure each role. System Administrators have all permissions by default. Assign permissions to match each team member’s responsibilities.
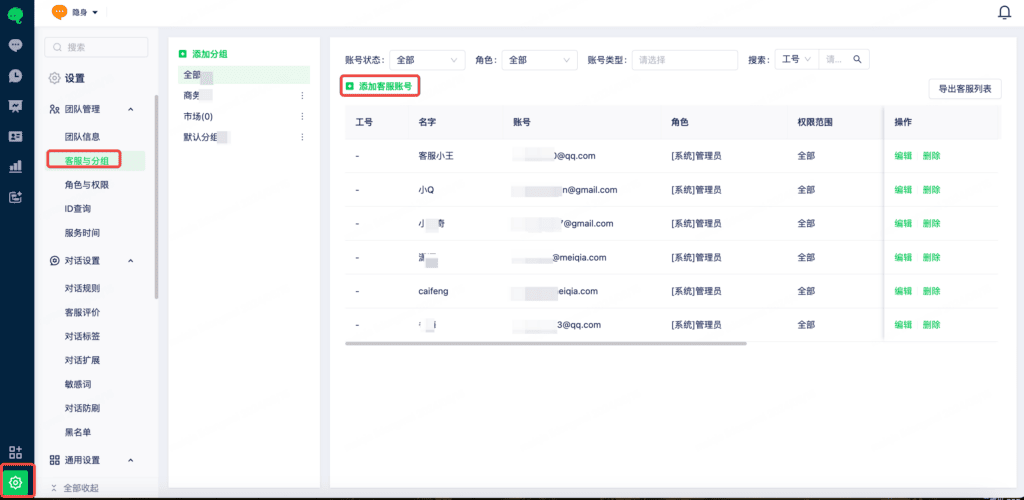
3. Add team members
After configuring groups and roles, add team-member accounts.
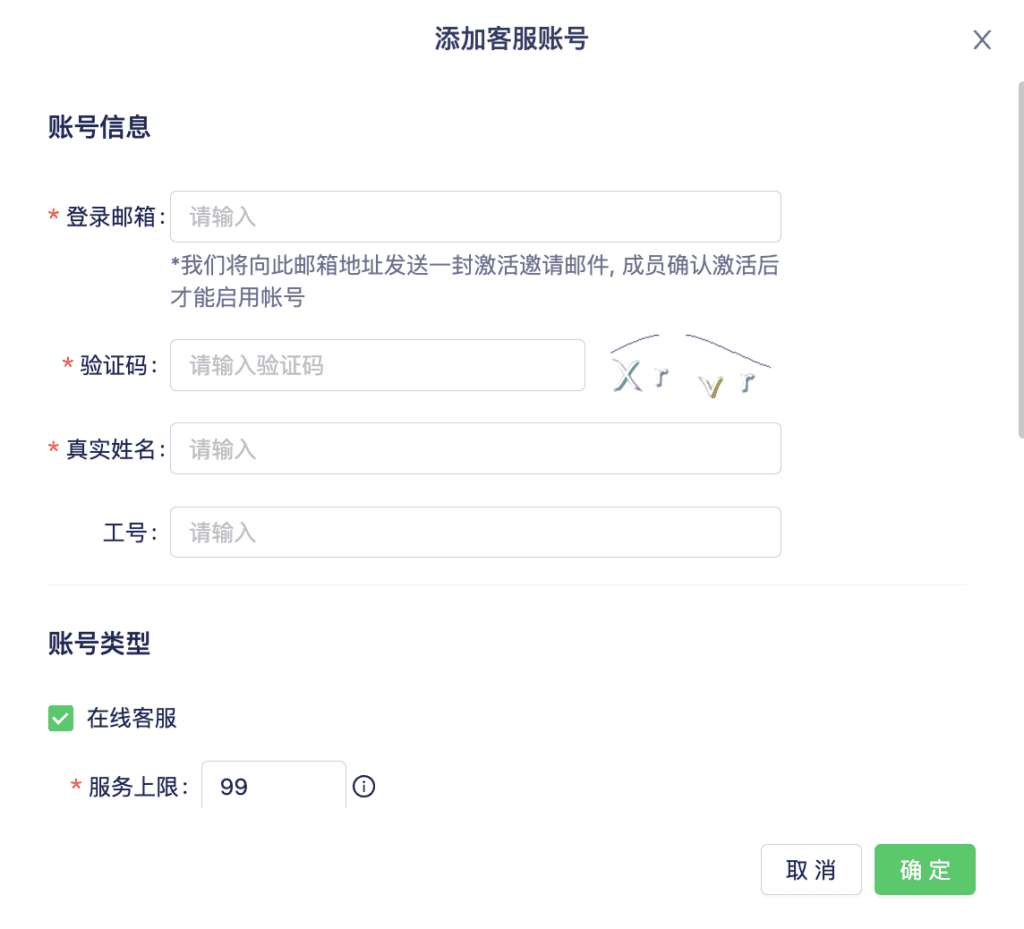
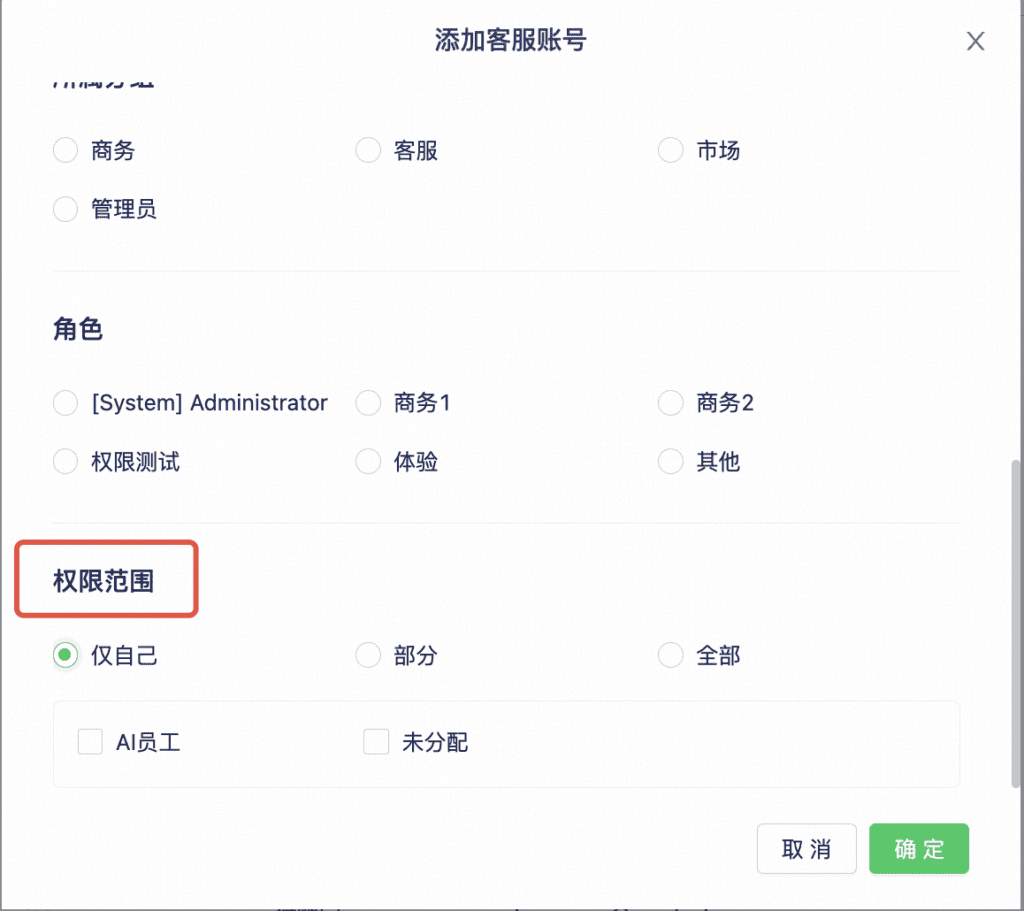
Select Add Team Member and enter the login email, real name, conversation capacity, group, role, and permission scope. Confirm to send an activation email automatically. Ask the team member to check their spam folder if the email does not arrive. Activate the account through that email. After activation, use Log In on the Mixdesk website to access the workspace.
On the configuration page, enter the email, verification code, name, and other details. Select the permissions, role, and group here.
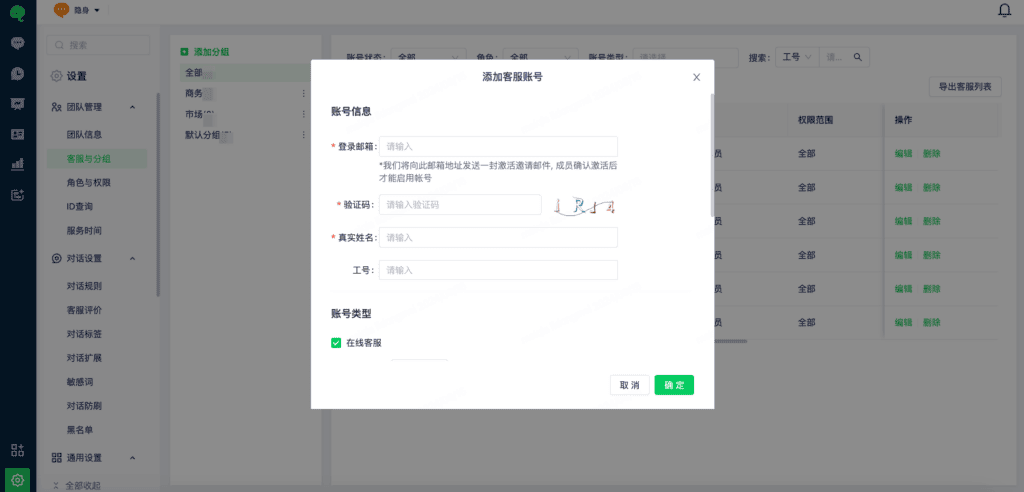
Team-member accounts use email verification, so enter a working email address. The team member must activate the account through the email.
4. Set conversation capacity
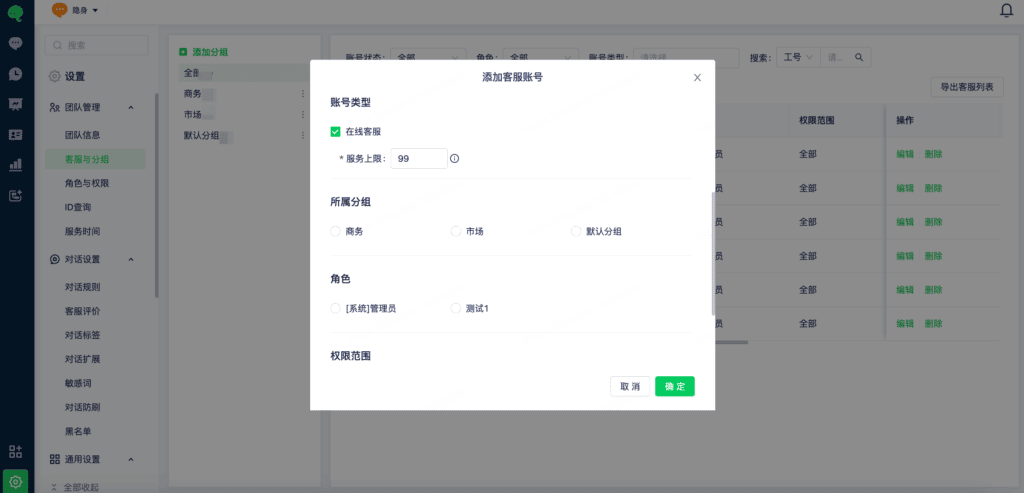
Conversation capacity: The maximum number of simultaneous conversations a team member can handle. A value of 0 prevents assignment to that account.
- The default maximum is 99. Contact your sales representative if you need a higher limit.
5. Configure account information
Super administrators and team members can customize their workspace.
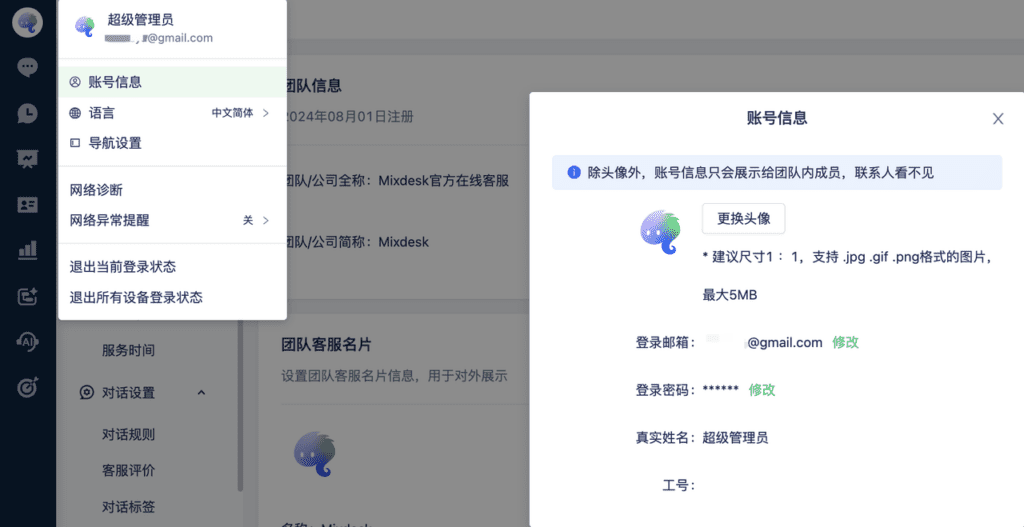
1. Select your avatar in the left sidebar to change your avatar, workspace language, and navigation settings.
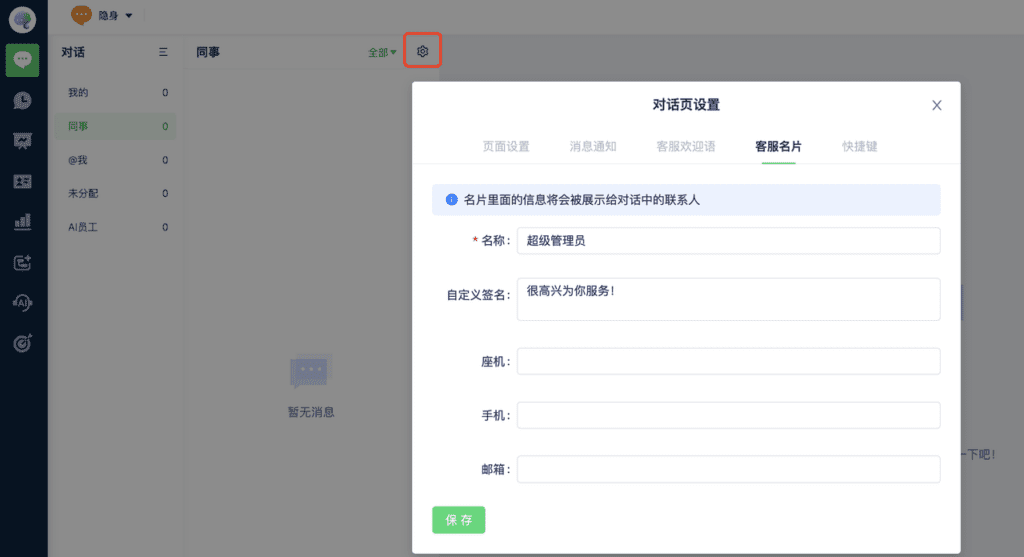
2. Open Inbox > Conversation Page Settings to configure your support profile, which is shown to customers. Third-party channels such as WhatsApp and Facebook show the connected account’s details instead.
You can keep other defaults while learning the workspace. See: Configure the Inbox
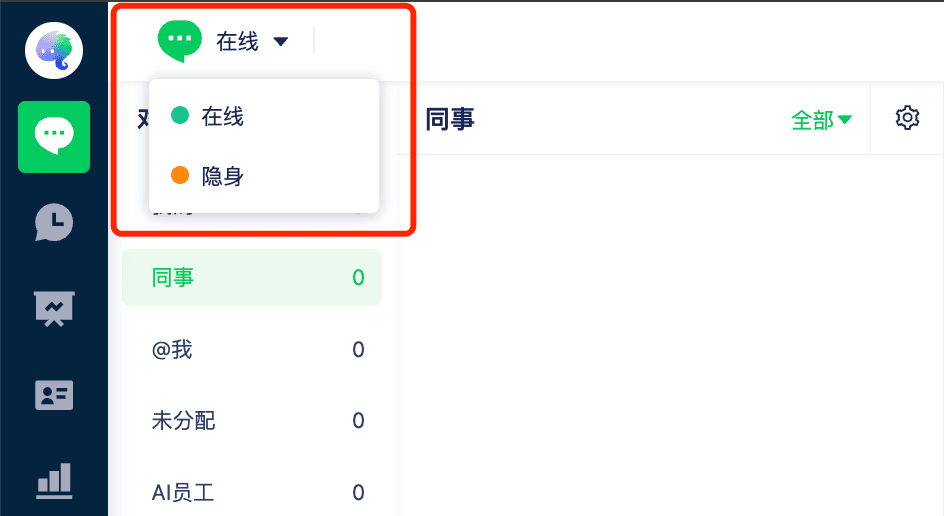
3. After signing in, team members must switch to Online to receive conversations. In the Inbox, use the upper-left status control to switch between Online and Invisible.
6. Configure team information
Select Team Information to view and edit company details, the team support profile, super administrator, team contacts, and announcements.
Set a name and signature for the team support profile. On Website and SDK channels, unassigned conversations display this profile by default.