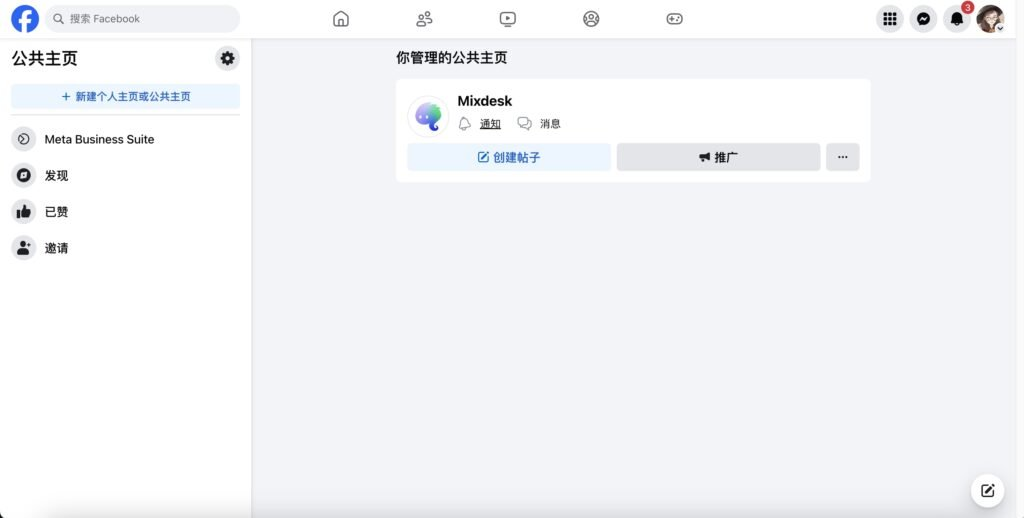
Overview
Connect multiple Facebook Pages to receive and reply to Messenger messages and Page comments in one workspace. Mixdesk supports automatic assignment, personalized replies, AI Agents, and bulk messaging.
Step 1: Connect your Facebook Page
1. Sign in to Mixdesk
Visit mixdesk.com. In the upper-right corner, select Log In and enter your credentials.
If you do not have an account, select Free Trial to register.

2. Open Channels
In the left navigation, select Channels and choose Facebook as the channel. In the upper-right corner, select Authorize Account.
On the Facebook channel page, you can authorize accounts or disconnect them.
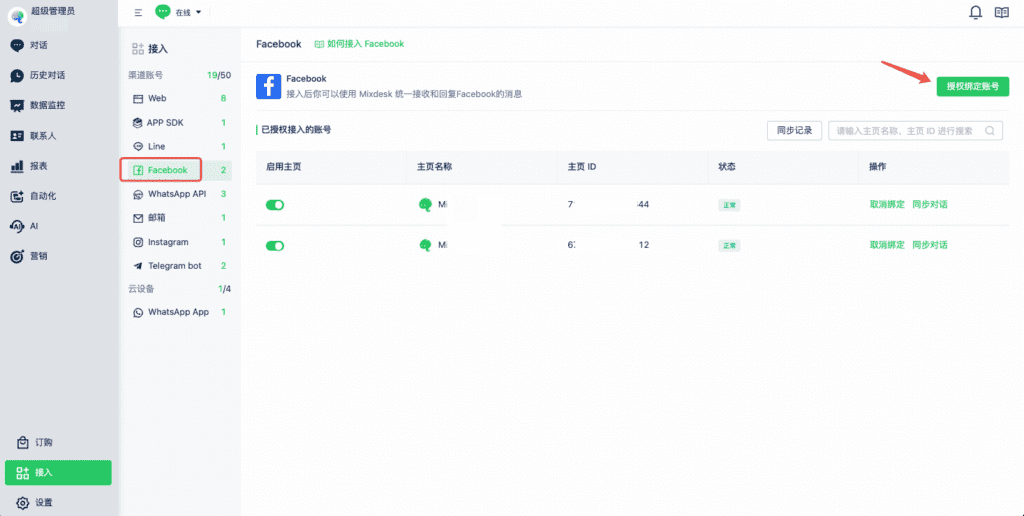
3. Sign in to Facebook and authorize the connection
Select Authorize Account to open Facebook’s login page. Sign in and follow these steps:
1. Select the Facebook Pages to connect and select Continue.
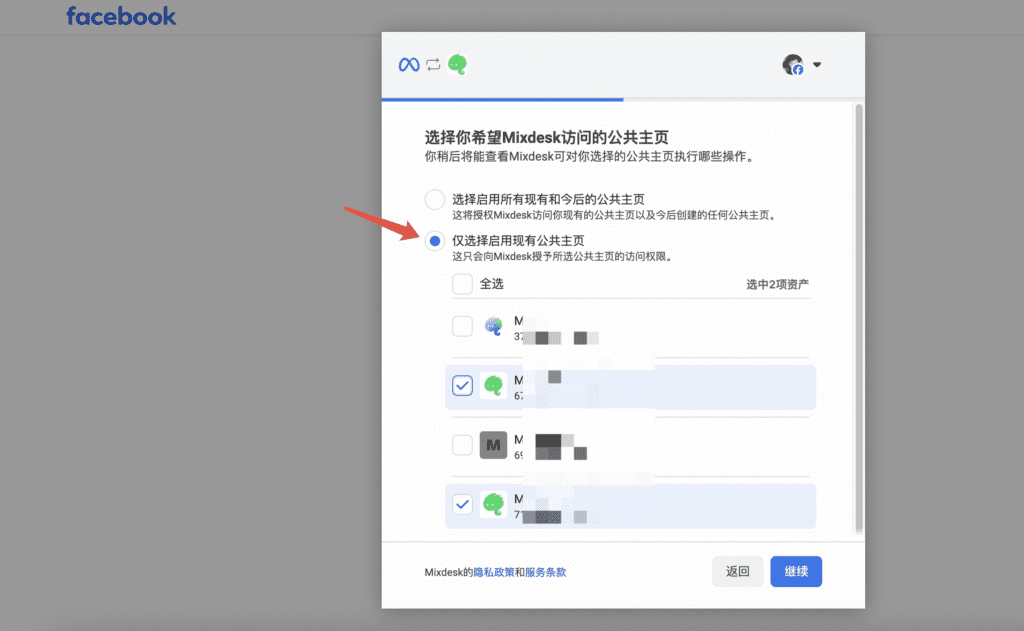
2. Choose the option to opt in to current business accounts only, then select Continue.
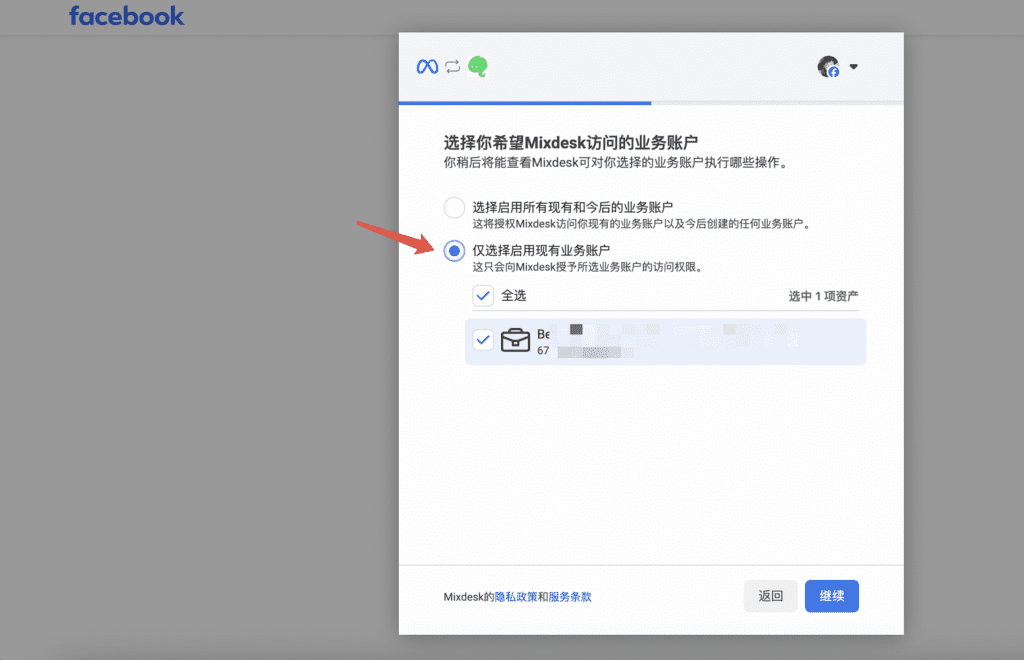
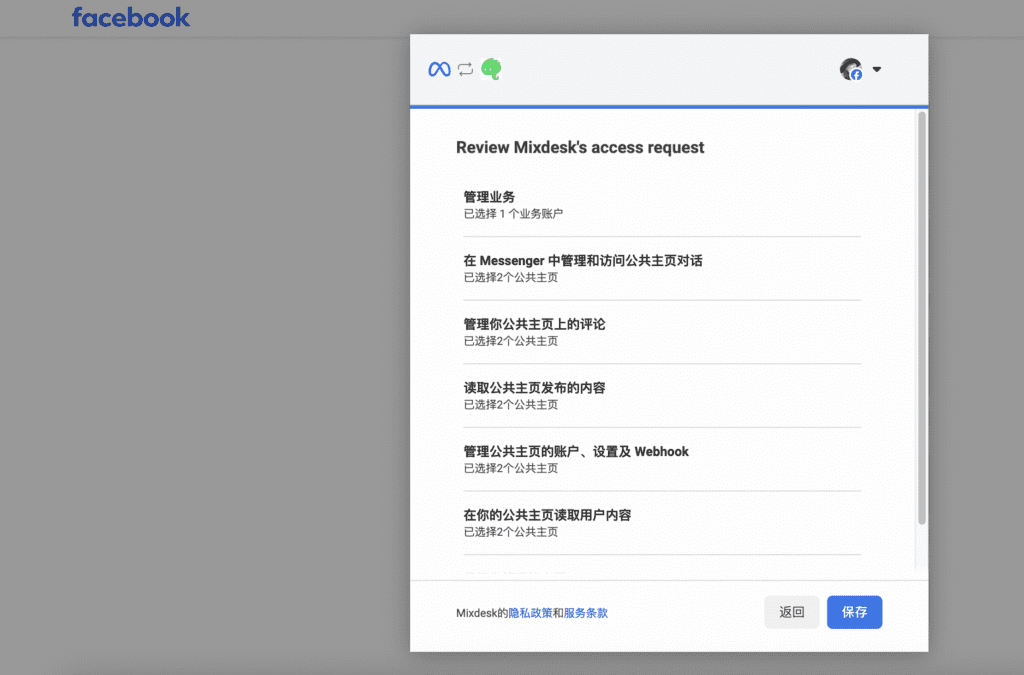
3. Review the permissions granted to Mixdesk and select Continue.
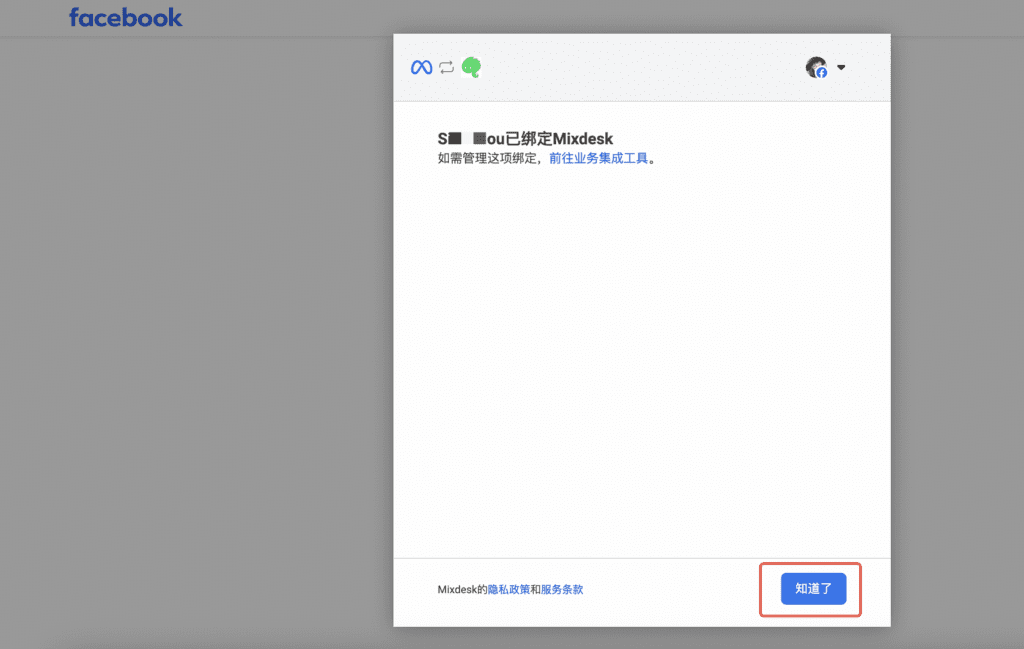
4. When Facebook confirms that your account is connected to Mixdesk, select Got It to return to Channels.
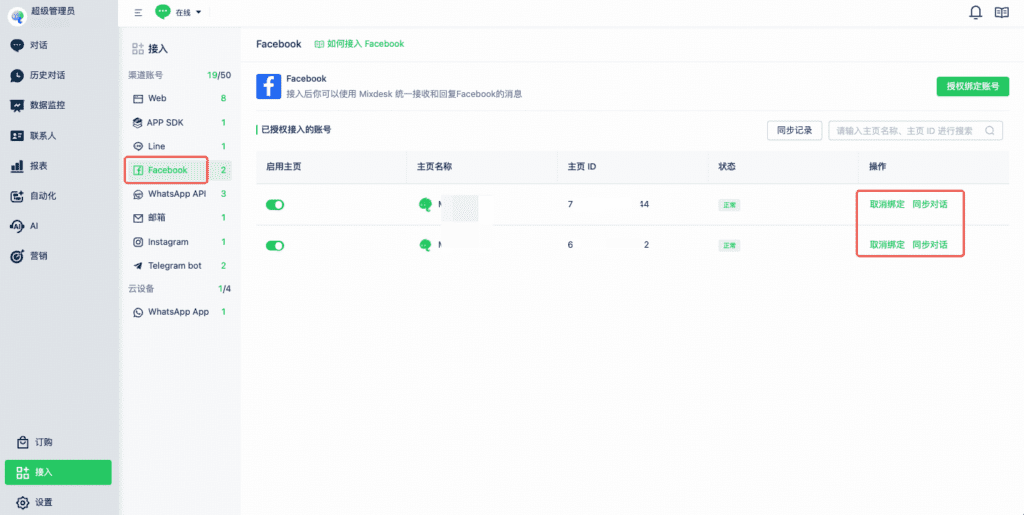
4. Check the connection
Return to Channels in Mixdesk to check your Facebook Page’s connection status.
Step 2: Test the connection
1. Find the connected Page
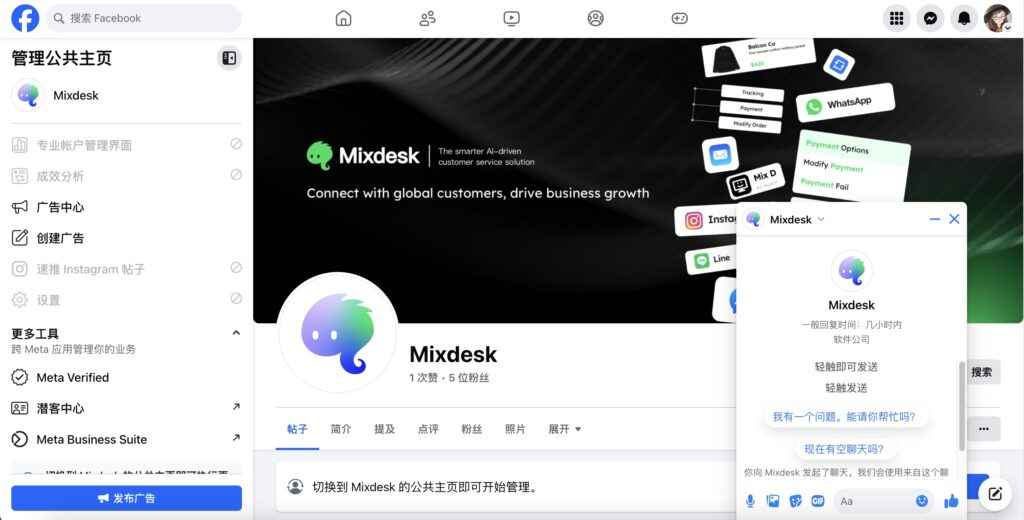
Sign in to Facebook and search for the connected Page’s name.
2. Send and reply to a test message
Open the Page and send a test message. Reply from Mixdesk to check that messages are received and sent correctly.
If you need help connecting the account, refer to the Help Center or contact our support team.
Step 3: Troubleshoot missing messages
If the Page is connected but Mixdesk is not receiving messages, check the following settings.
1. In Facebook, open Settings & Privacy > Page Settings for the Page.
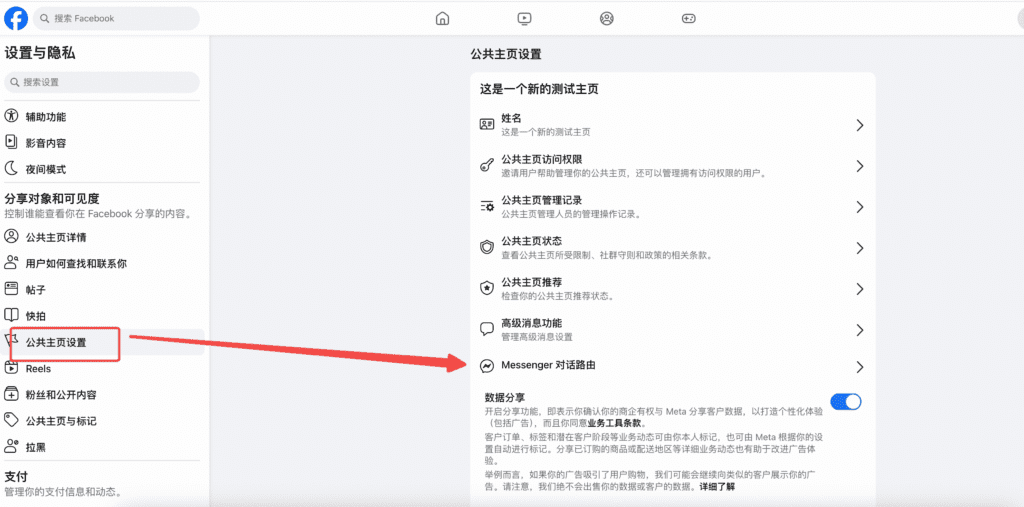
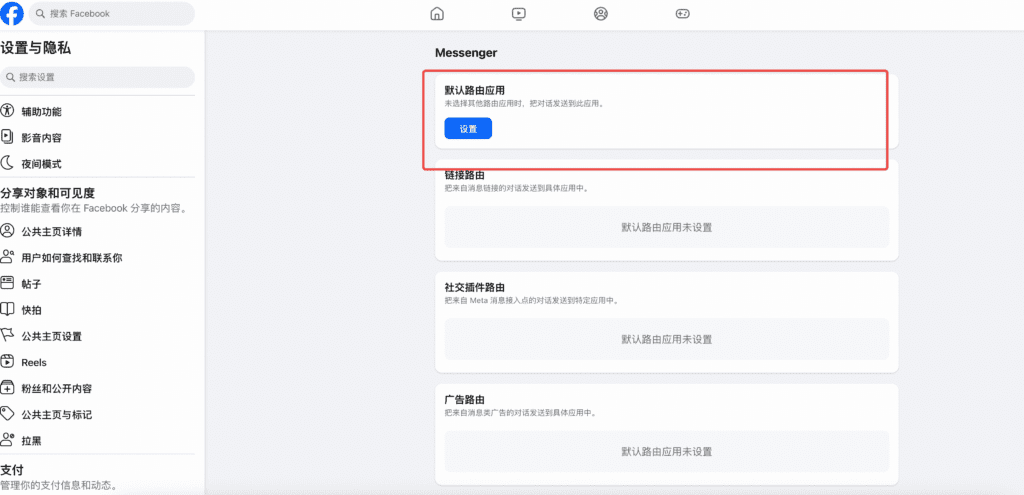
2. Open Messenger Conversation Routing. If another application is the default routing application, change it to Mixdesk.
Step 4: Create a Facebook Page
Skip this section if you already have a Page.
1. Sign in to Facebook
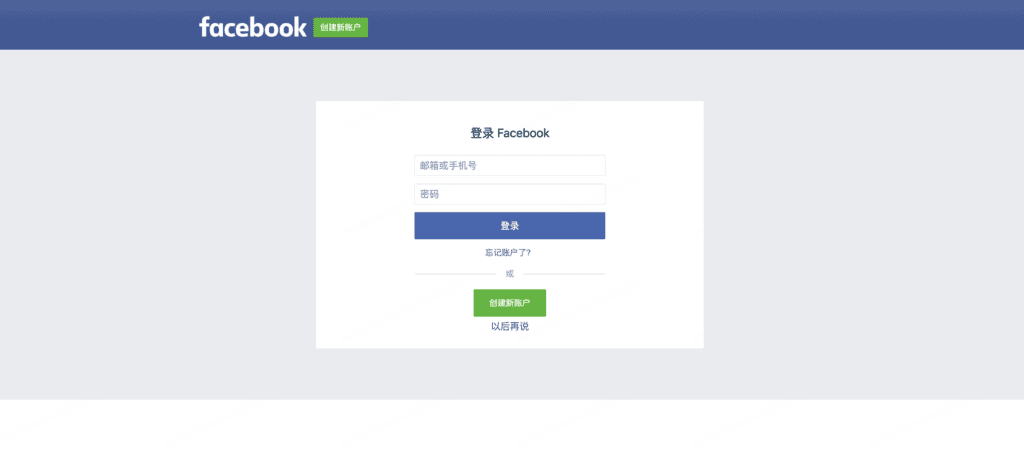
Visit the Facebook login page and enter your email or phone number and password, then select Log In.
2. Open Page management
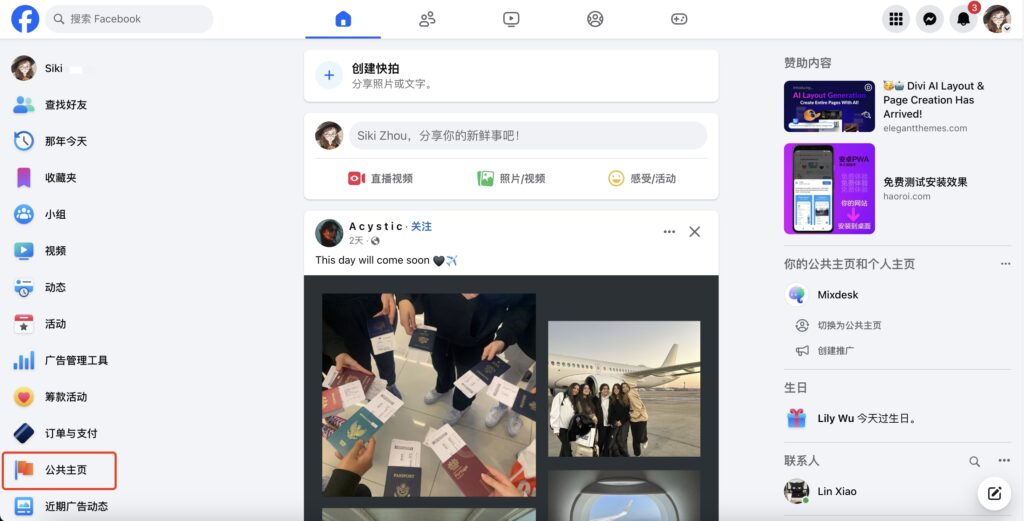
In the left sidebar, select Pages.
Here you can manage existing Pages or create a new one.
3. Create a Page
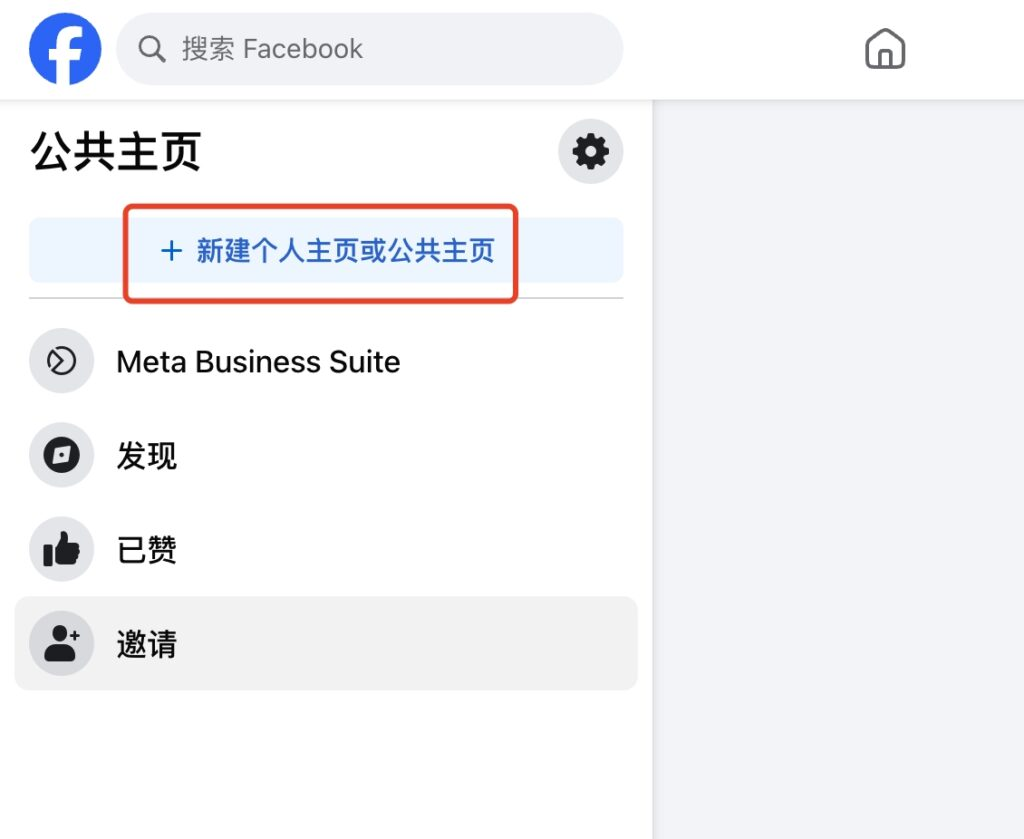
Select Create New Profile or Page to start creating a Page.
4. Choose a Page type
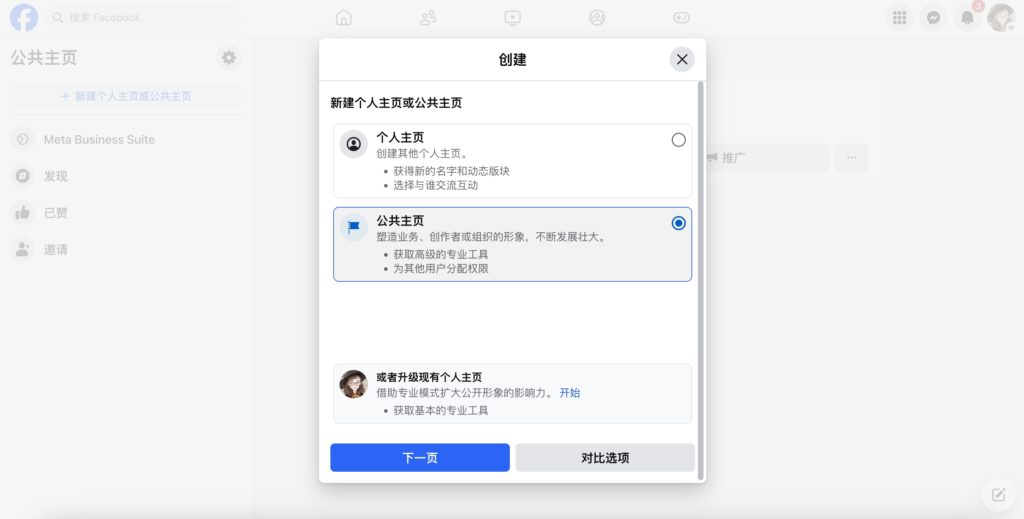
Select Pages, then select Next and complete the setup.
5. Review the new Page
The new Page appears in Page management.